Your Ultimate Guide To All Things Furniture
January 5, 2024
January 5, 2024
By: Benjamin Parker • 60 Best Living Room Furniture You Mustn't Miss Out On
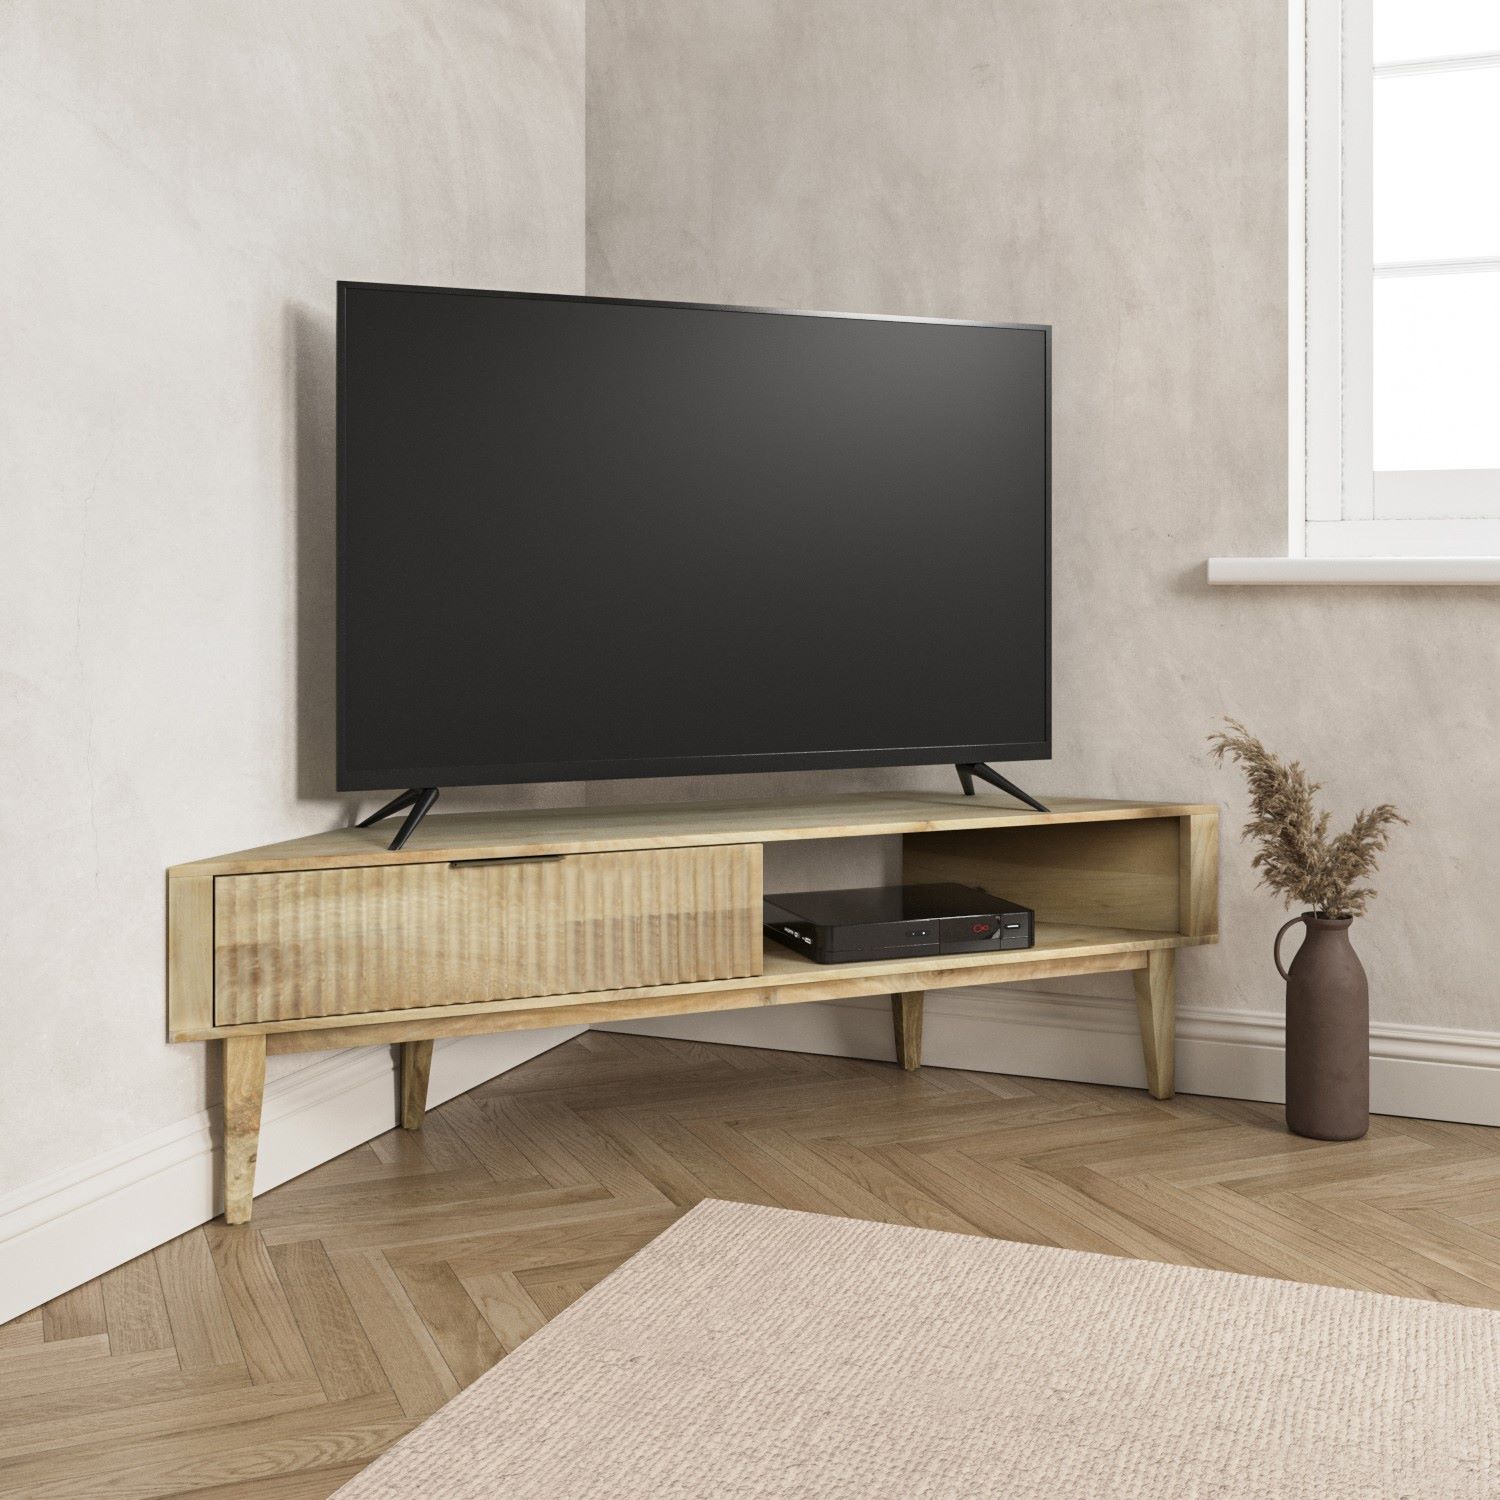
How To Measure A Corner TV Stand
Introduction Welcome to our comprehensive guide on how to measure for a corner TV stand. If you are looking to upgrade your living room furniture and add a stylish and functional TV stand to your space, it is important to choose the right size and design that fits perfectly in...
Read More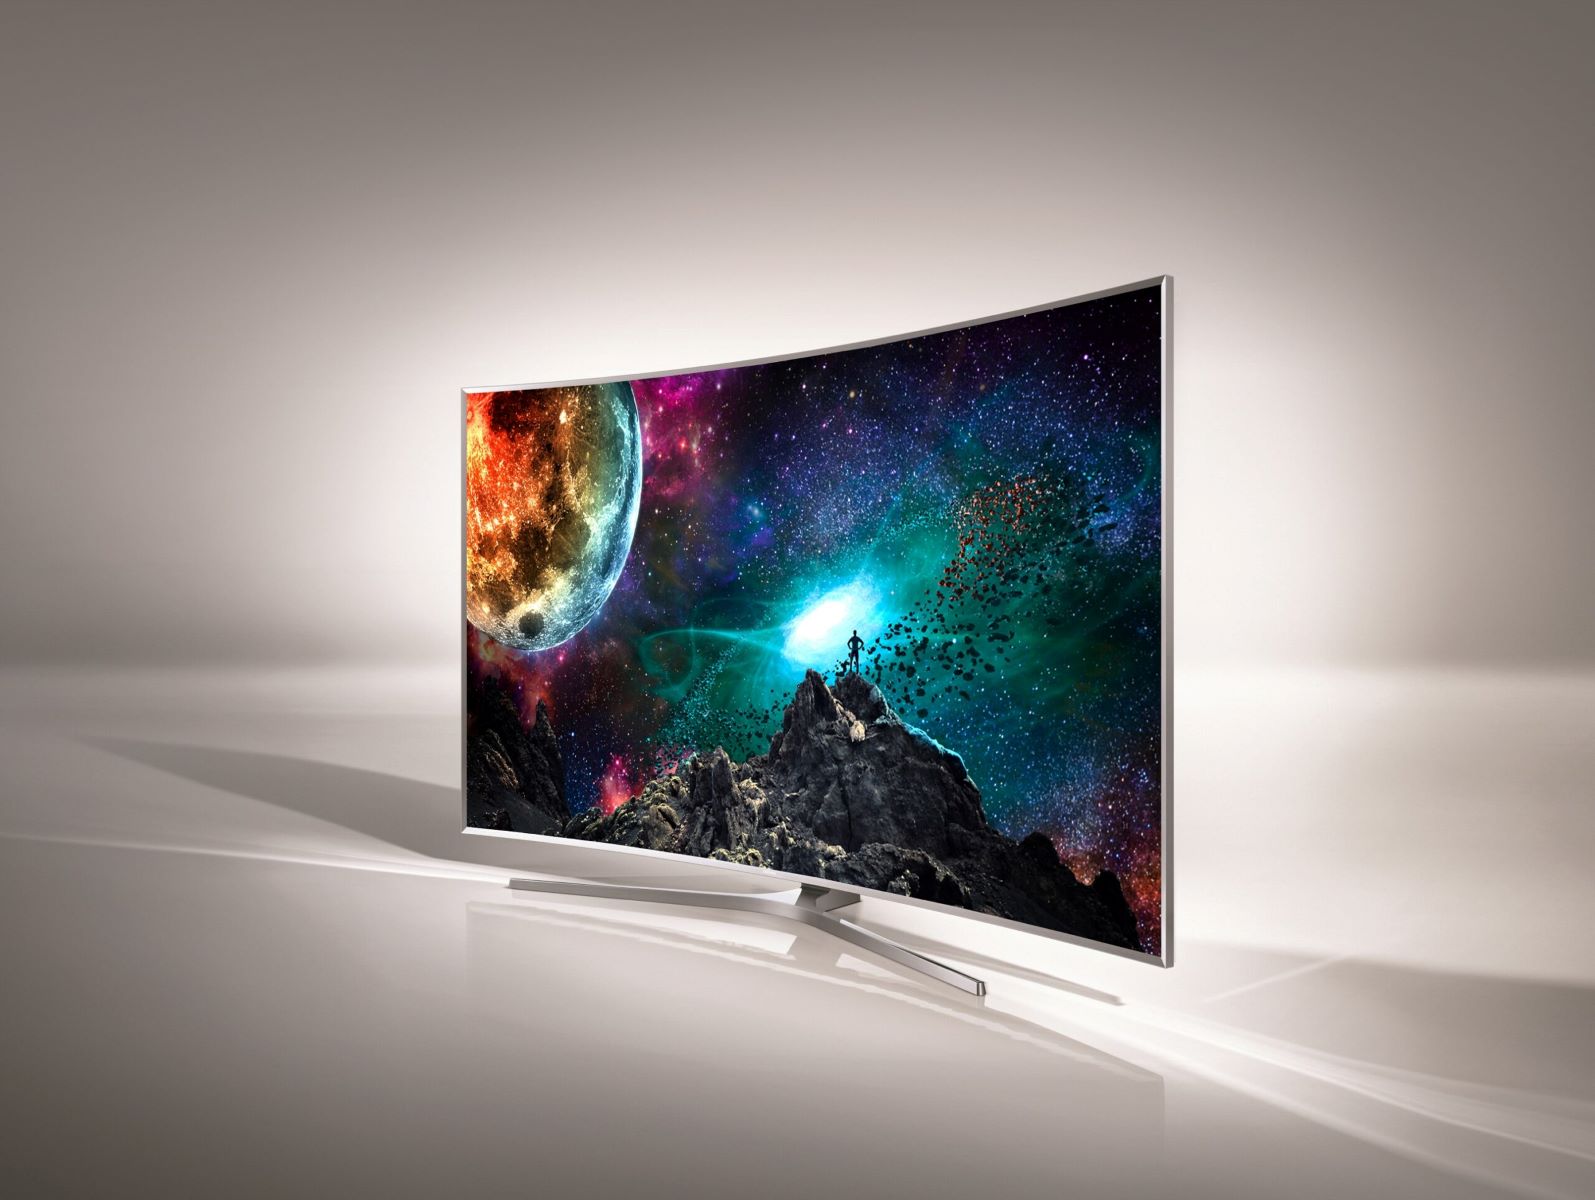
By: Samuel Turner • 60 Best Living Room Furniture You Mustn't Miss Out On
What Is A SUHD TV Stand Used For
Introduction Welcome to the world of SUHD TVs, where technological advancements bring a new level of visual experience right into the heart of your living room. SUHD stands for “Super Ultra High Definition,” and it represents the pinnacle of TV technology, offering unparalleled picture quality and breathtaking color reproduction. Whether...
Read More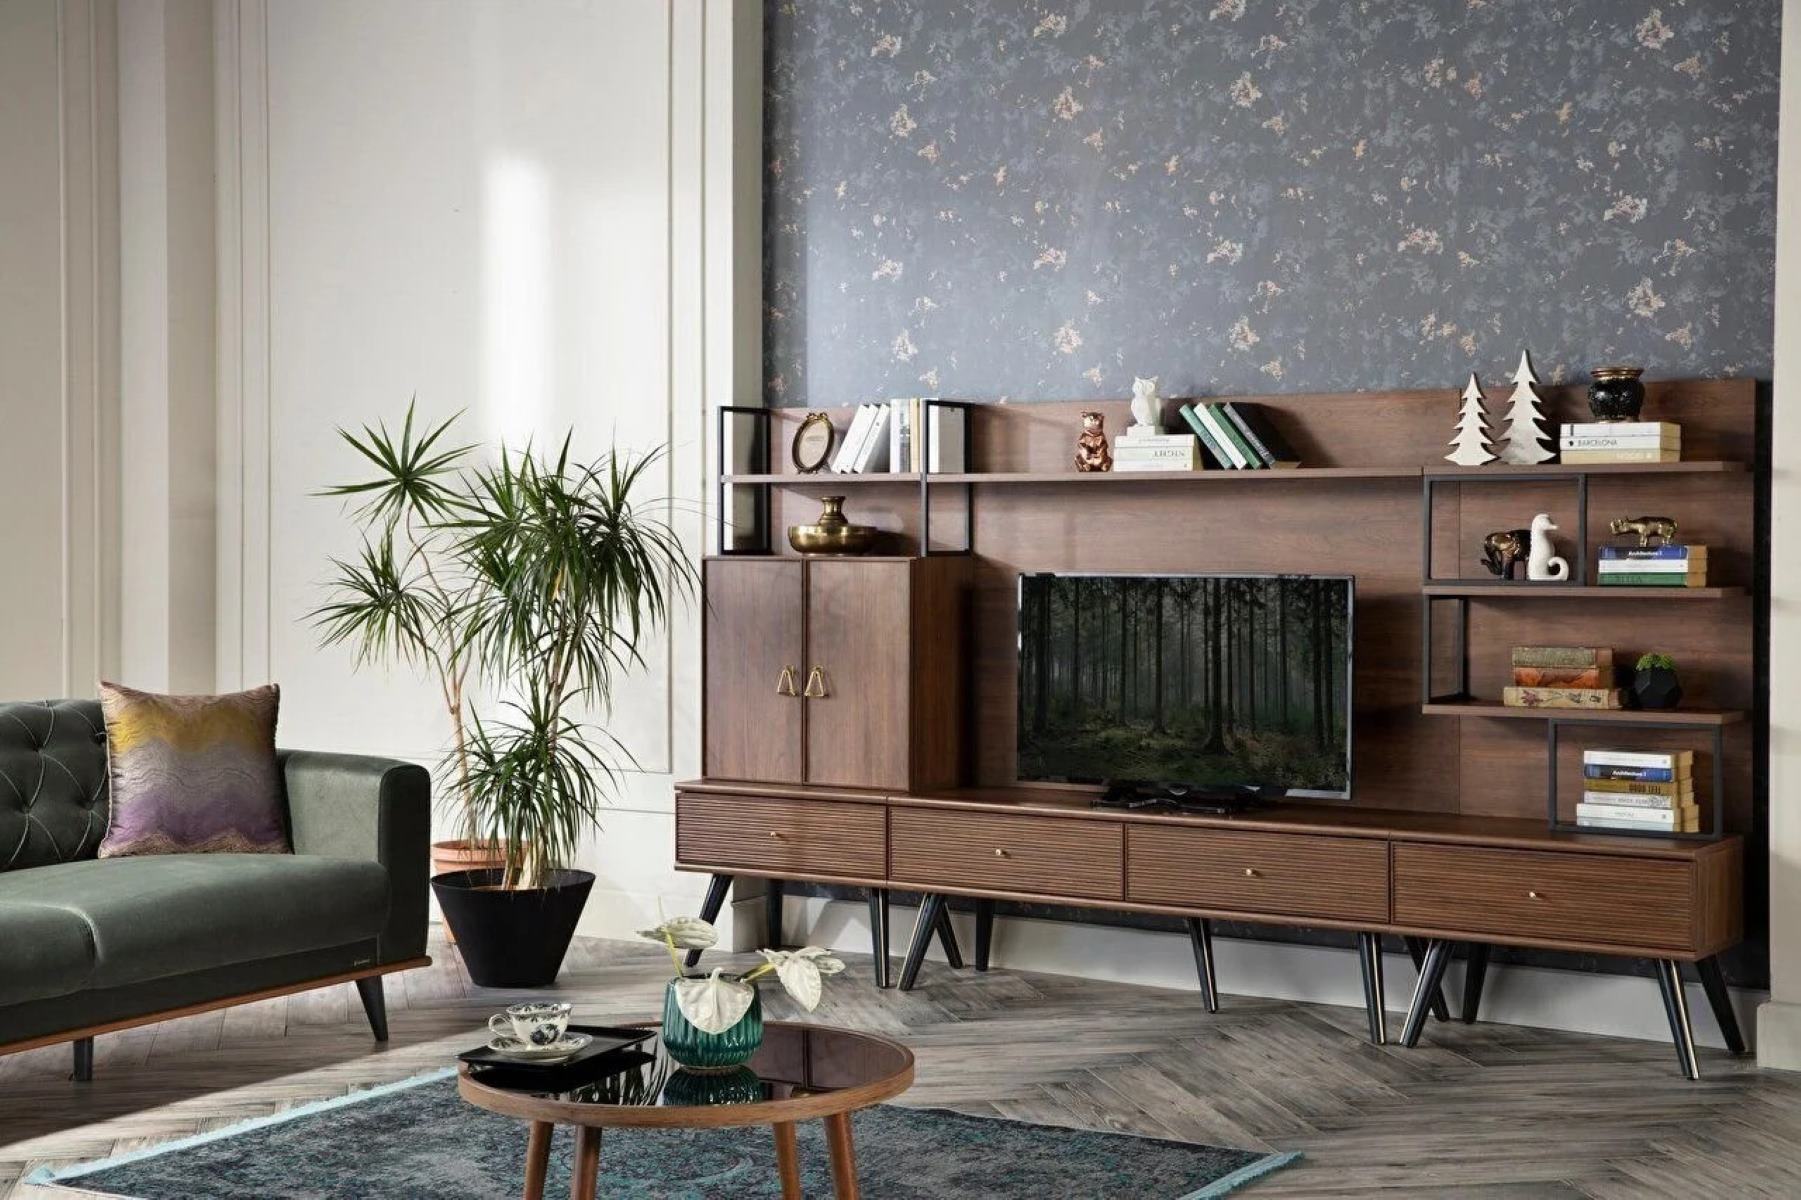
By: Grace Wilson • 60 Best Living Room Furniture You Mustn't Miss Out On
How To Choose A TV Stand Color
Introduction Welcome to the world of living room furniture, where every piece plays a crucial role in creating a cohesive and stylish space. When it comes to choosing a TV stand for your living room, the color you select can make a significant impact on the overall aesthetics of the...
Read MoreBy: Emma Thompson • 60 Best Living Room Furniture You Mustn't Miss Out On
Introduction Welcome to the fascinating world of Logo TV! In this article, we will delve into the history, meaning, and branding success of Logo TV. Logo TV is a household name that has revolutionized the world of television by catering specifically to the LGBTQ+ community. Since its inception, Logo TV...
Read More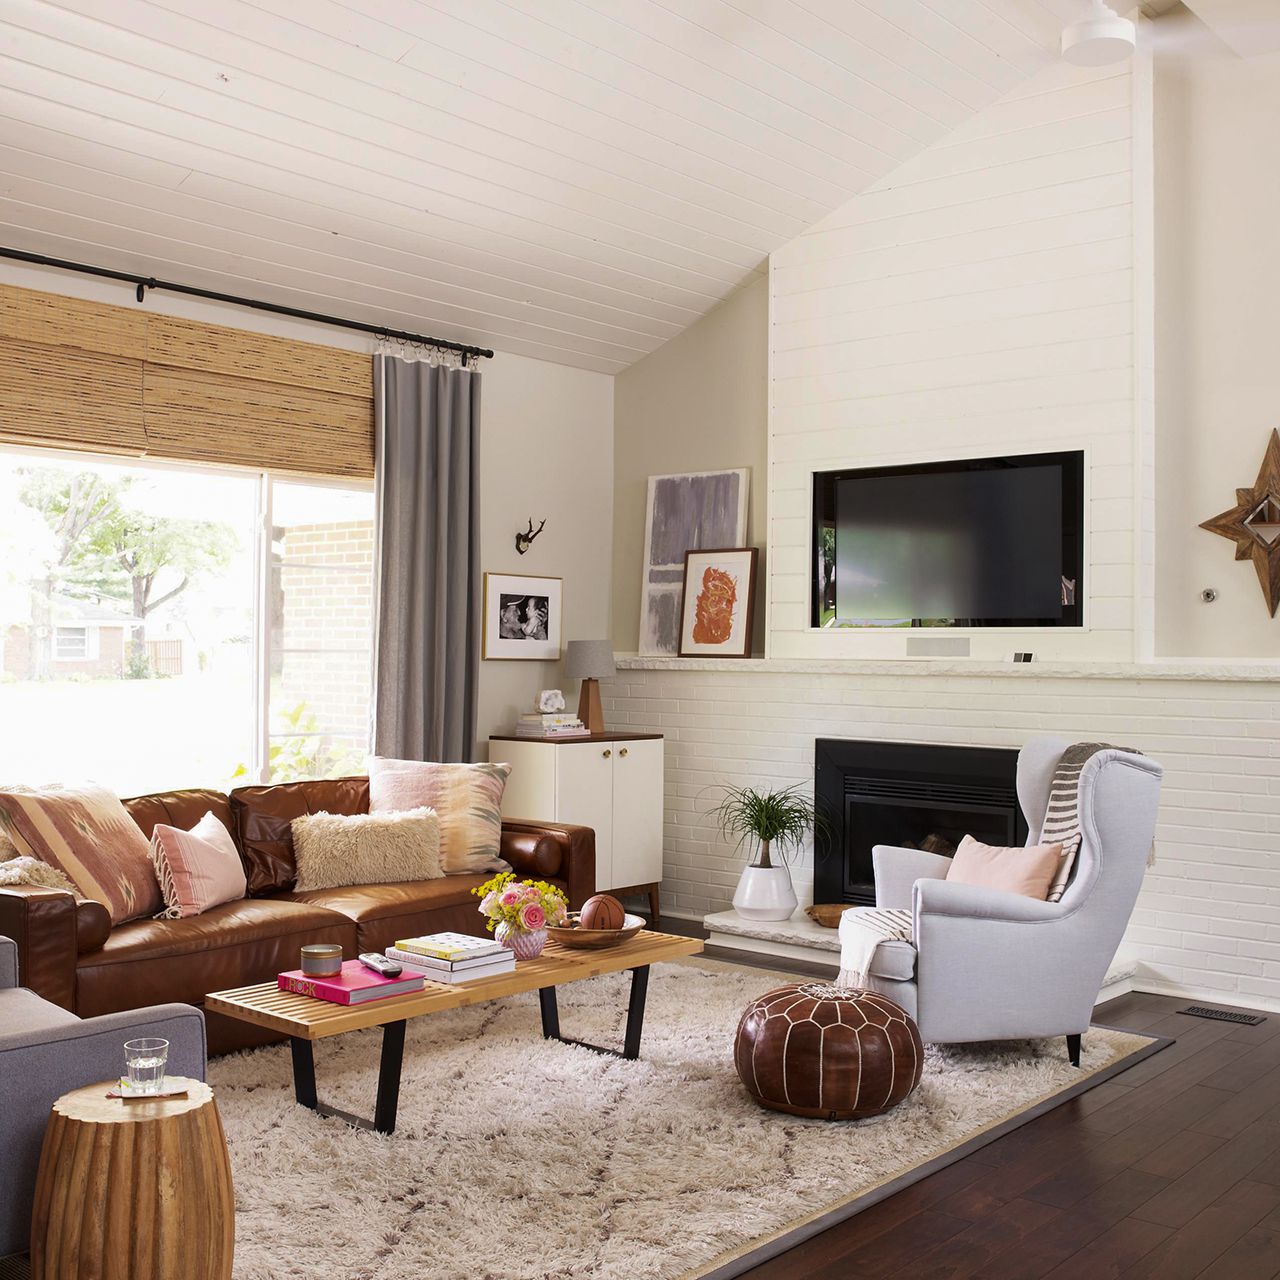
By: Samuel Turner • 60 Best Living Room Furniture You Mustn't Miss Out On
What TV Stand Color Will Match A Brown Couch
Introduction Welcome to the ultimate guide on choosing the perfect TV stand to complement your brown couch! When it comes to furnishing your living room, one of the key elements is finding a TV stand that not only fits your needs but also complements the existing furniture. The color of...
Read More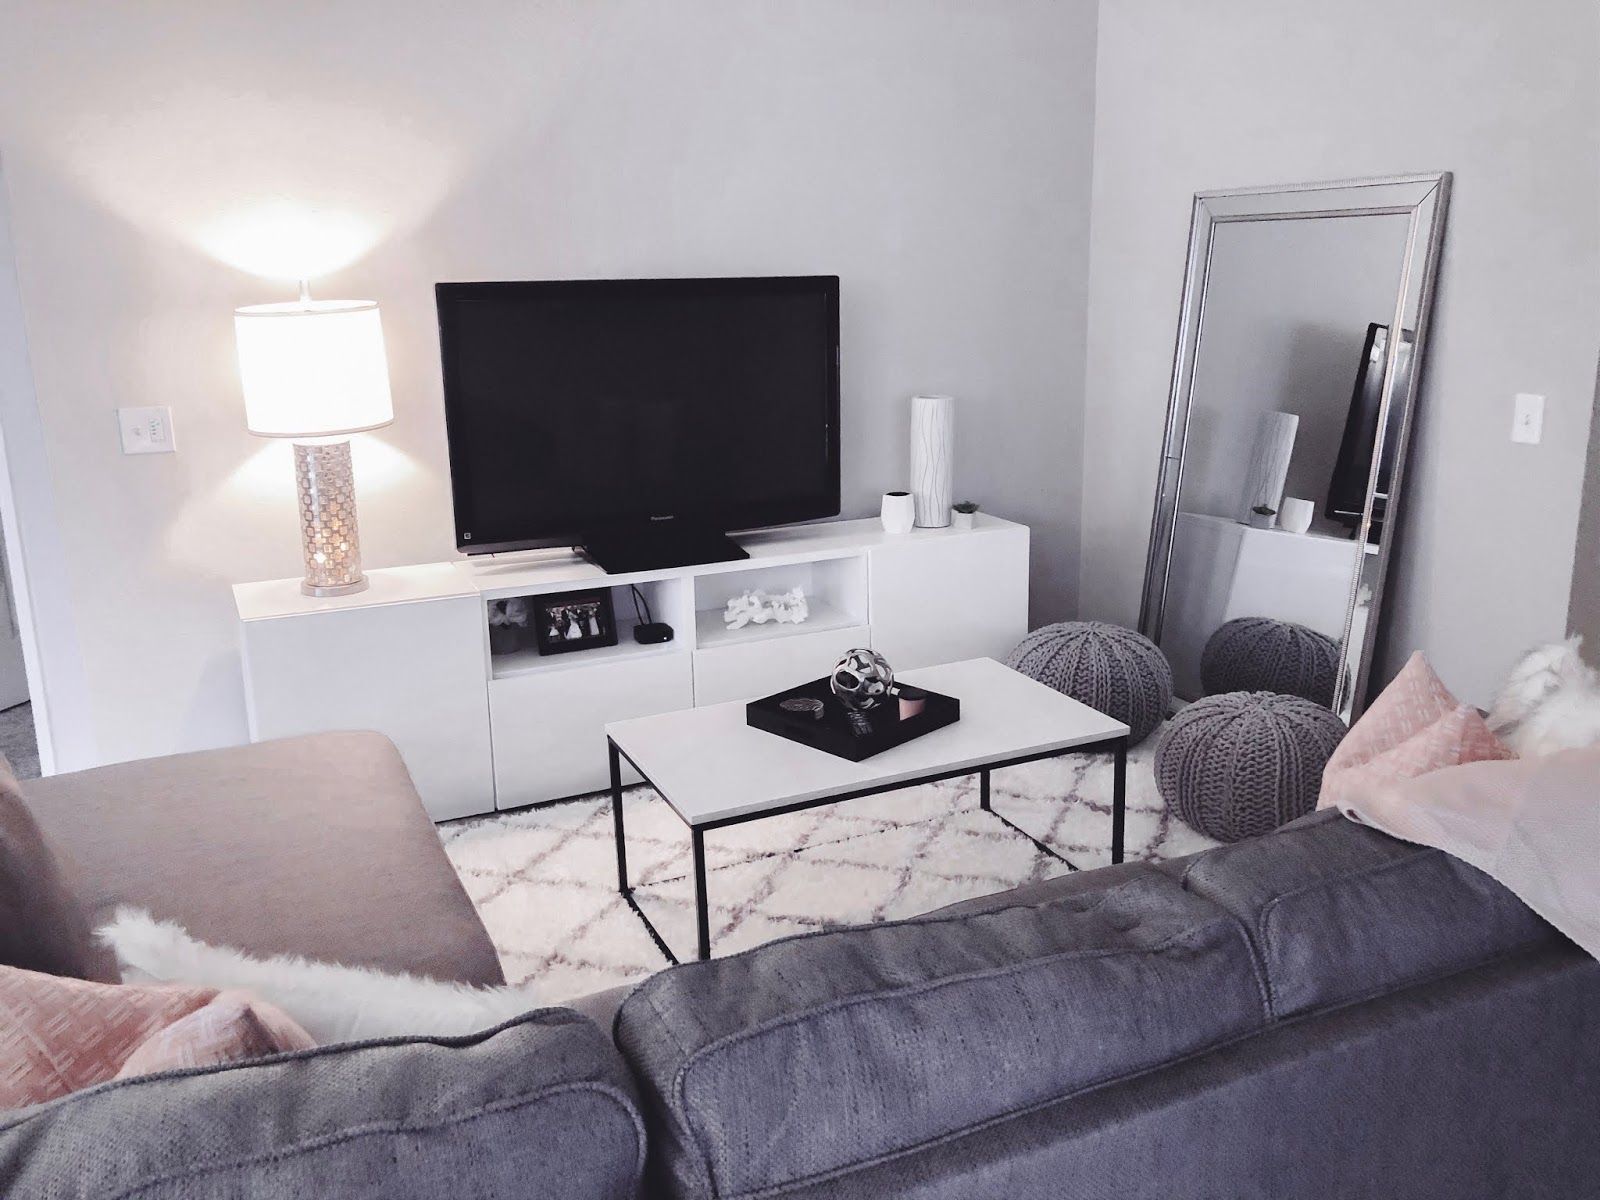
By: Daniel Carter • 60 Best Living Room Furniture You Mustn't Miss Out On
What Color TV Stand Goes With A Grey Couch
Introduction Welcome to the world of interior design, where every element plays a crucial role in creating the perfect living room ambiance. One of the most important pieces of furniture in a living room is the couch, and a popular choice among homeowners is the grey couch. Its versatility and...
Read More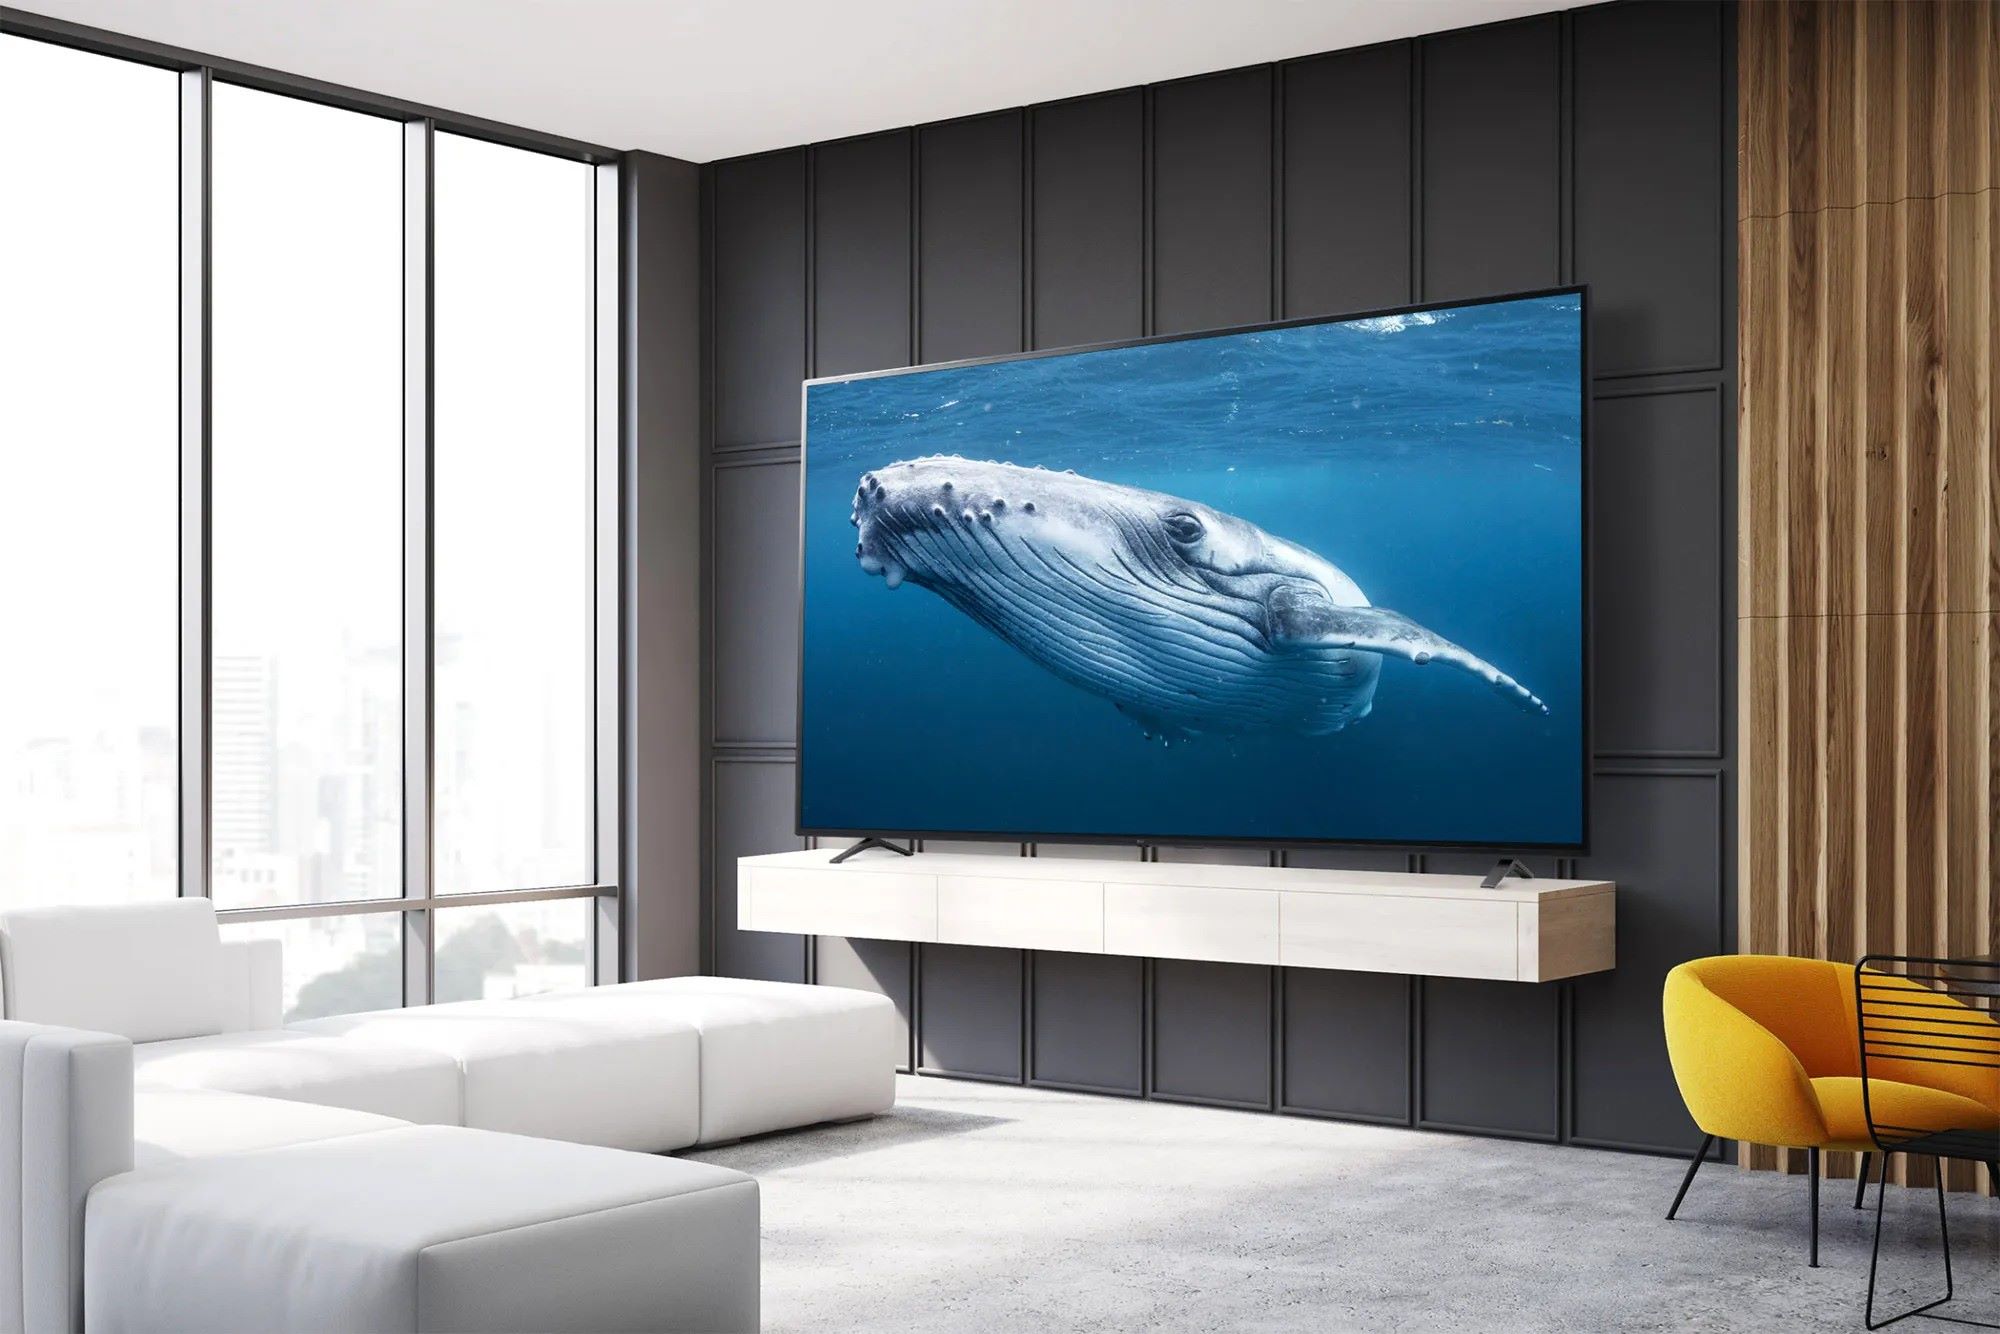
By: Oliver Mitchell • 60 Best Living Room Furniture You Mustn't Miss Out On
What Size TV Stand For A 70-Inch TV
Introduction Choosing the right size TV stand for your 70-inch TV is crucial for both aesthetic appeal and functionality. A TV stand that is too small may not provide adequate support and stability, while a stand that is too large can overwhelm the room’s décor. To make an informed decision,...
Read More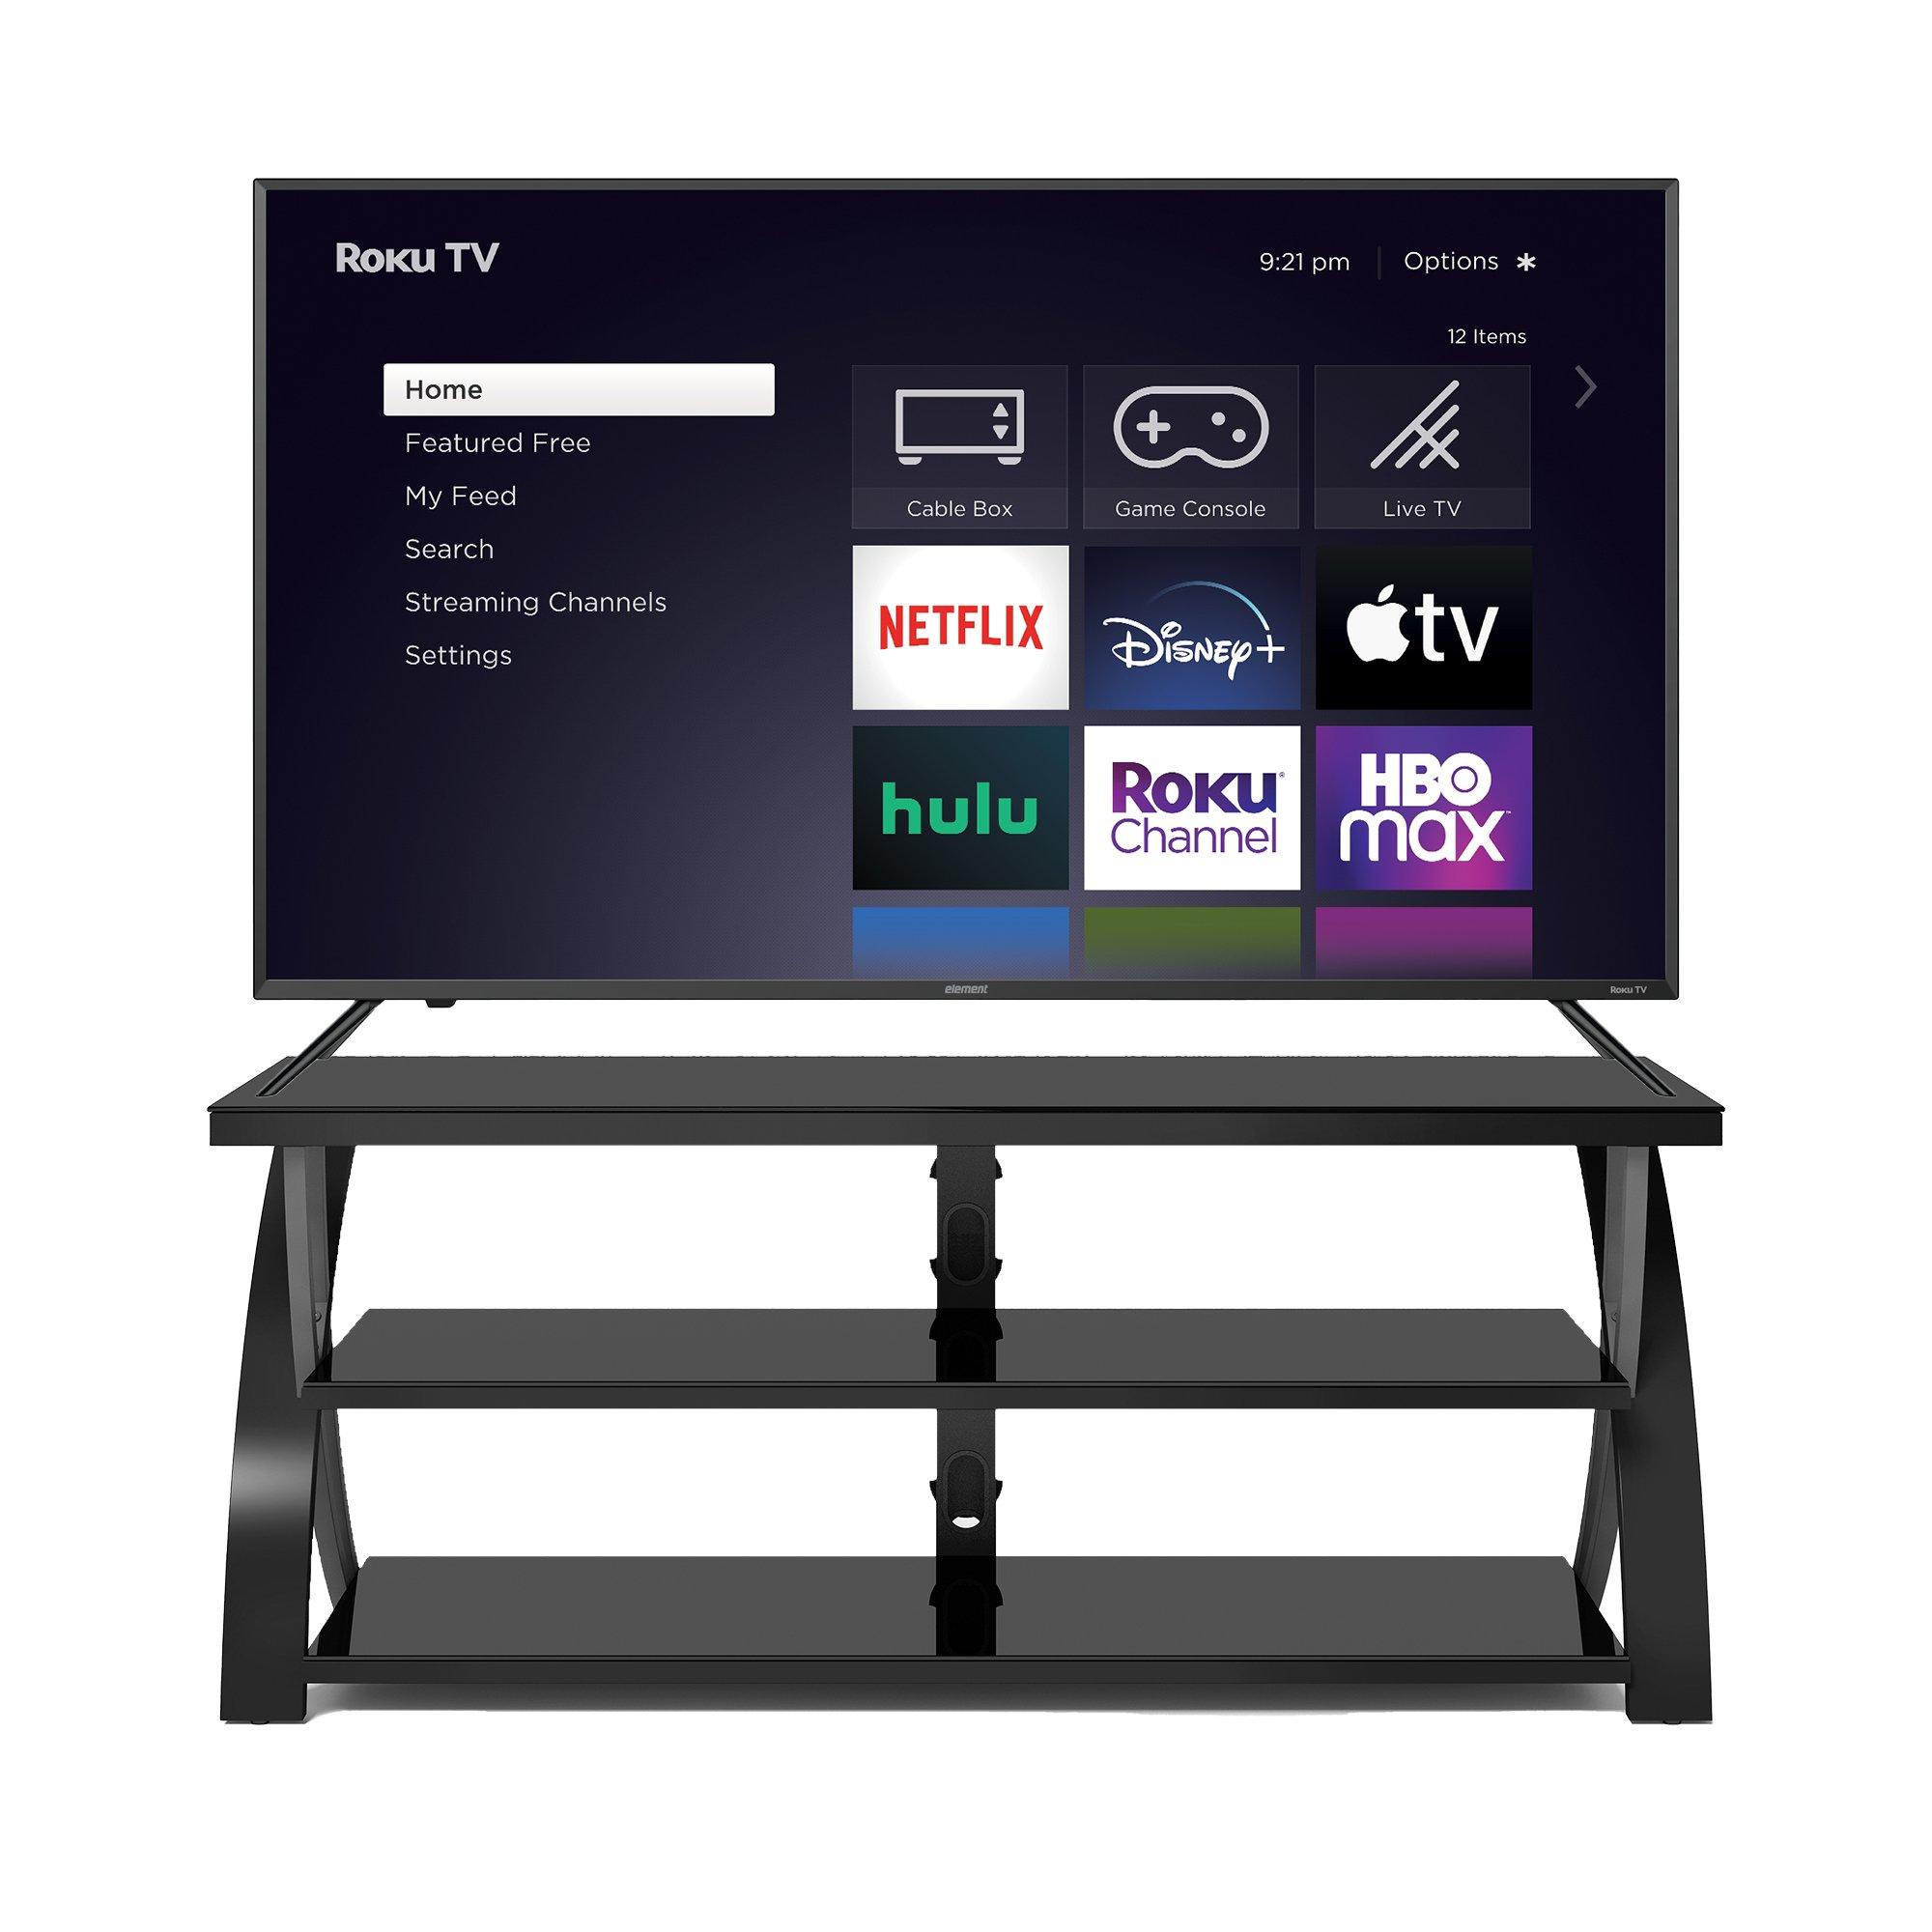
By: Oliver Mitchell • 60 Best Living Room Furniture You Mustn't Miss Out On
What Size Screws Will Fit A Roku TV Stand
Introduction Welcome to the world of Roku TV stands! If you’re a proud owner of a Roku TV, you know how important it is to have a sturdy and reliable stand to display your television. But when it comes to assembling your Roku TV stand, one important question arises –...
Read More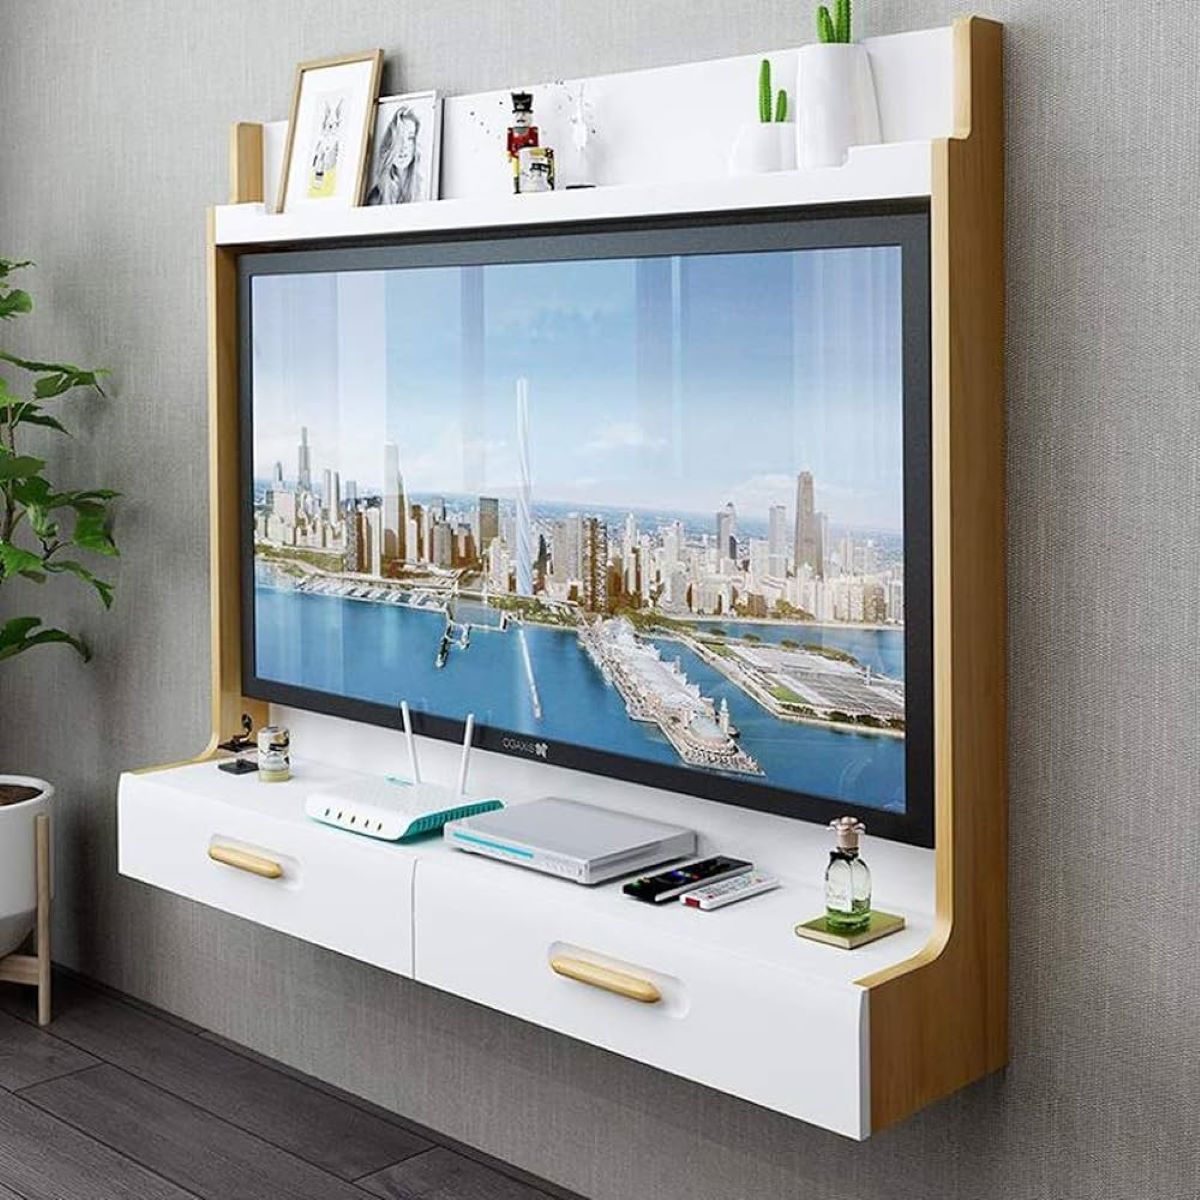
By: Olivia Parker • 60 Best Living Room Furniture You Mustn't Miss Out On
What Size TV Stand Will Fit A 50-Inch TV
Introduction Welcome to the world of living room furniture! In today’s fast-paced and technologically driven world, having a comfortable and stylish living room is essential for creating a welcoming and inviting space. One key element of any living room setup is the television, and with the increasing popularity of large-screen...
Read More